

How long does dental implant surgery take?
Understanding the Basics of Dental Implants
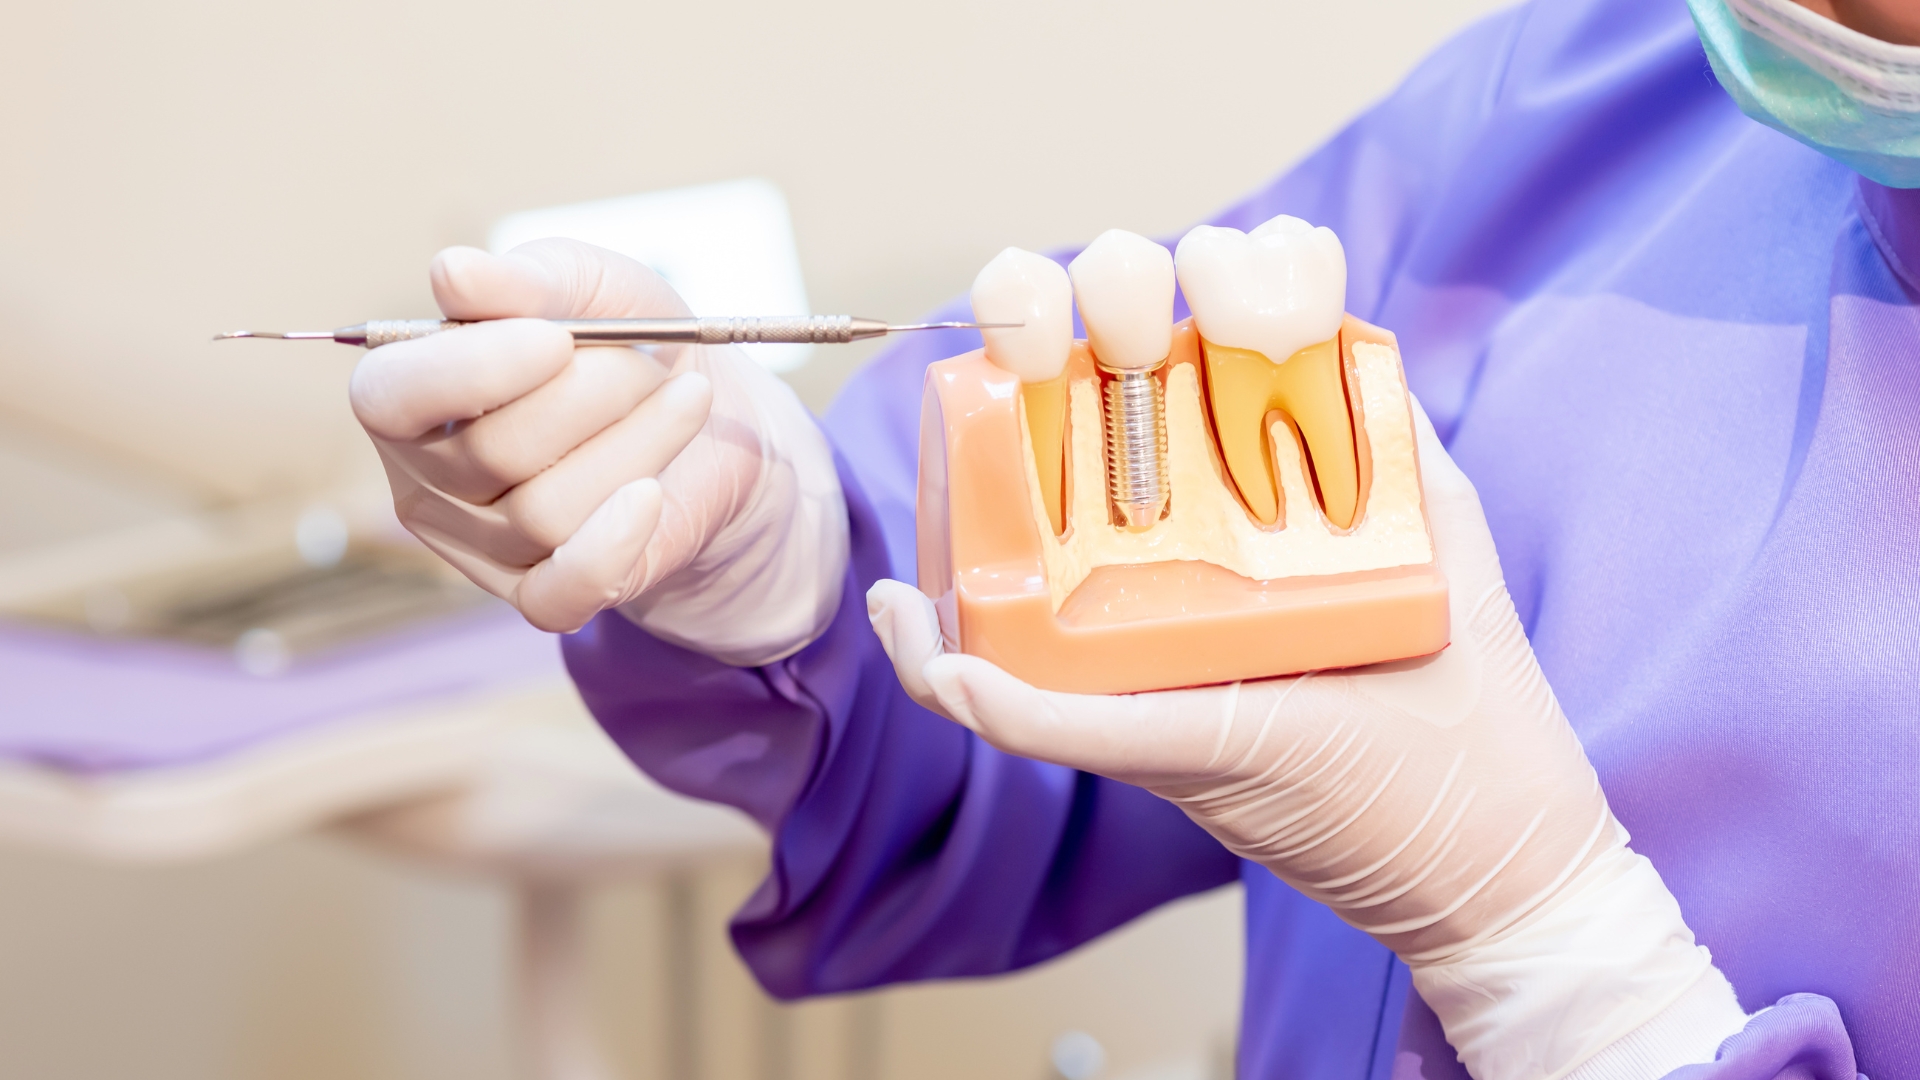
What Are Dental Implants?
Dental implants are metal artificial tooth roots placed in the jawbone. They are a strong foundation for replacement teeth that look and feel like natural teeth.
Benefits of Dental Implants
Dental implants offer several advantages, including:
- Improved appearance and confidence
- Better speech compared to dentures
- Enhanced comfort and convenience
- Easier eating and chewing
- Long-lasting solution with proper care
Who Is a Candidate for Dental Implants?
Not everyone is a good fit for dental implants. Ideal candidates typically:
- Have healthy gums
- Have enough bone in the jaw to support the implant
- Are committed to good oral hygiene
- Are non-smokers or willing to quit
Dental implants can change lives by restoring smiles and improving quality of life. They are a reliable option for replacing missing teeth.
Initial Consultation and Assessment
What to Expect During the Consultation
You will meet with the dentist during your first visit to discuss your dental health. This is a crucial step in planning your treatment. Here’s what usually happens:
- The dentist will ask about your medical history.
- You will discuss any concerns or questions you have.
- A physical examination of your mouth will be conducted.
Diagnostic Imaging and Tests
The dentist may recommend some tests to get a clear picture of your dental needs. These can include:
- X-rays to see the condition of your jawbone.
- 3D imaging for a detailed view of your mouth.
- Other tests to check for any underlying issues.
Discussing Treatment Options
After the assessment, the dentist will explain the different treatment options available. You might discuss:
- The type of dental implant that suits you best.
- The overall timeline for the procedure.
- Any additional treatments you may need before getting implants.
The initial consultation is your chance to gather information and feel comfortable about the upcoming process.
Pre-Surgery Preparations
Steps to Prepare for Surgery
Preparing for dental implant surgery is crucial for a smooth experience. Here are some important steps to follow:
- Schedule a Pre-Operative Appointment: Meet with your dentist to discuss the procedure.
- Follow Pre-Surgery Instructions: Your dentist will provide specific guidelines to follow.
- Arrange Transportation: Have someone ready to drive you home after the surgery.
Medications and Supplements to Avoid
Before your surgery, it's important to avoid certain medications and supplements that can affect the procedure. Consider the following:
- Blood thinners (like aspirin)
- Herbal supplements (such as ginkgo biloba)
- Anti-inflammatory drugs (unless approved by your dentist)
Pre-Surgery Dietary Guidelines
Eating the right foods before your surgery can help. Here are some dietary tips:
- Stay Hydrated: Drink plenty of water.
- Eat a Balanced Meal: Focus on proteins and vegetables.
- Avoid Heavy Foods: Avoid greasy or spicy meals the night before.
Preparing well for dental implant surgery can improve recovery and overall experience. Following your dentist's advice is key to a successful procedure.
The Day of the Surgery
Arriving at the Clinic
On the day of your dental implant surgery, arriving at the clinic on time is important. This helps ensure everything goes smoothly. Here are some tips for your arrival:
- Plan to arrive early to fill out any necessary paperwork.
- Bring a friend or family member to help you get home afterward.
- Wear comfortable clothing and avoid heavy makeup.
Pre-Surgery Protocols
Before the surgery begins, there are a few steps you’ll need to follow:
- Meet with your dental team to go over the procedure one last time.
- You may need to take some medications as directed by your dentist.
- Make sure to inform the staff about any allergies or health issues you have.
What to Bring with You
To make your visit easier, consider bringing the following items:
- Your ID and insurance information.
- A list of any medications you are currently taking.
- A book or music to help pass the time while you wait.
Being well-prepared can help reduce anxiety and make the day of your surgery more comfortable.
The Surgical Procedure
Step-by-Step Overview of the Surgery
Dental implant surgery is a process that involves several necessary steps. Here’s a simple breakdown of what happens during the procedure:
- Preparation: The dentist will prepare the area where the implant will go. This may include numbing the area with local anesthesia.
- Implant Placement: A small cut is made in the gum to expose the bone. The dentist then places the implant into the bone.
- Healing: After the implant is placed, the gum is stitched up. The healing process can take several months as the bone grows around the implant.
Types of Anesthesia Used
During the surgery, different types of anesthesia can be used to ensure comfort:
- Local Anesthesia: Numbs only the area being worked on.
- Sedation: Helps you relax and may make you feel sleepy.
- General Anesthesia: Puts you completely to sleep for the procedure.
Duration of the Surgery
The time for dental implant surgery can vary, but generally, it lasts about 1 to 2 hours. Factors that can affect the duration include:
- The number of implants being placed.
- The complexity of the case.
- The need for additional procedures, like bone grafting.
Understanding the surgical procedure can help ease any worries you may have. Knowing what to expect can make the experience smoother and more comfortable.
Post-Surgery Care and Recovery
Immediate Post-Surgery Care
After your dental implant surgery, taking care of yourself is essential to ensure a smooth recovery. Here are some key points to remember:
- Rest is crucial. Make sure to take it easy for the first few days.
- Apply ice packs to your face to reduce swelling.
- Keep your head elevated while resting to help with swelling.
Managing Pain and Discomfort
You may feel some pain after the surgery, but there are ways to manage it:
- Take prescribed pain medications as directed.
- Use over-the-counter pain relievers if needed.
- Avoid hard or crunchy foods that can irritate the area.
Remember, some discomfort is normal, but contact your dentist if the pain becomes severe.
Follow-Up Appointments
Follow-up visits are essential for monitoring your recovery. Make sure to:
- Attend all scheduled appointments.
- Discuss any concerns or unusual symptoms with your dentist.
- Keep track of your healing progress.
Potential Risks and Complications
Common Risks Associated with Dental Implants
Dental implant surgery is generally safe, but it comes with some risks like any medical procedure. Understanding these risks can help you make informed decisions. Here are some common risks:
- Infection at the implant site
- Nerve damage, which can cause pain or numbness
- Sinus issues, especially for upper jaw implants
Signs of Complications
After surgery, it's important to watch for signs of something wrong. Look out for:
- Increased swelling or redness around the implant
- Persistent pain that doesn't go away
- Unusual discharge from the surgical site
When to Contact Your Dentist
You must contact your dentist if you notice any of the signs mentioned above. Additionally, you should contact them if you experience:
- Fever or chills
- Difficulty chewing or biting
- Any sudden changes in your overall health
Being aware of potential risks and complications can help you take the right steps to recover successfully.
Long-Term Maintenance of Dental Implants
Daily Oral Hygiene Practices
To keep your dental implants in great shape, it’s important to follow good oral hygiene. Here are some key practices:
- Brush your teeth at least twice a day. Use a soft-bristled toothbrush to avoid damaging your gums.
- Floss daily to remove food particles and plaque between your teeth and around the implants.
- Consider using an antibacterial mouthwash to help reduce bacteria in your mouth.
Regular Dental Check-Ups
Regular visits to the dentist are crucial for maintaining your dental implants. Aim for:
- Check-ups every six months to monitor the health of your implants.
- Professional cleanings to remove tartar and plaque that regular brushing might miss.
- X-rays as needed to check the bone around your implants.
Lifestyle Tips for Longevity
Making some lifestyle changes can help your dental implants last longer:
- Avoid smoking, as it can slow down healing and increase the risk of complications.
- Eat a balanced diet rich in vitamins and minerals to support oral health.
- Wear a mouthguard if you grind your teeth at night to protect your implants.
Taking care of your dental implants is essential for their long-term success. With proper care, they can last many years and give you a beautiful smile.
Cost and Insurance Considerations
Understanding the Costs Involved
The cost of dental implants can vary widely based on several factors. The total cost can range from $3,000 to $4,500 per implant. Here are some key factors that influence the price:
- Type of implant used
- Complexity of the procedure
- Location of the dental clinic
Insurance Coverage for Dental Implants
Many dental insurance plans do not cover the full cost of dental implants. However, some may cover a portion of the procedure. Here are a few points to consider:
- Check if your plan includes dental implants.
- Some plans may cover related procedures, like extractions or bone grafts.
- Always confirm coverage details with your insurance provider.
Planning for dental implants involves understanding the costs and the potential insurance coverage. Being informed can help you make the best decision for your dental health.
Patient Testimonials and Success Stories
Real-Life Experiences
Many people have shared their journeys with dental implants, highlighting how these procedures have changed their lives. Here are some common themes from their stories:
- Improved Confidence: Many patients feel more confident in their smiles after getting implants.
- Enhanced Functionality: Eating and speaking become easier, allowing for a more normal lifestyle.
- Long-Lasting Results: Patients appreciate that dental implants can last many years with proper care.
Before and After Photos
Visual evidence can be powerful. Many patients have shared before and after photos that show the dramatic changes in their smiles. These images often illustrate:
- The transformation in appearance.
- The restoration of facial structure.
- The overall improvement in quality of life.
Patient Satisfaction Rates
Surveys and studies show that many patients are satisfied with their dental implants. Key points include:
- Over 90% of patients report being happy with their results.
- Most would recommend the procedure to friends and family.
- Many feel that the benefits outweigh the costs involved.
Dental implants restore smiles and bring back joy and confidence to everyday life.
Comparing Dental Implants to Other Options
Dental Implants vs. Dentures
- Durability: Dental implants are designed to last a long time, often for many years, while dentures may need to be replaced or adjusted over time.
- Comfort: Implants feel like natural teeth, whereas dentures can sometimes slip or cause discomfort.
- Maintenance: Implants require regular brushing and flossing, similar to natural teeth, while dentures need to be removed and cleaned separately.
Dental Implants vs. Bridges
- Support: Unlike bridges, which can put pressure on adjacent teeth, implants do not rely on neighboring teeth for support.
- Longevity: Implants generally last longer than bridges, which may need replacement after several years.
- Bone Health: Implants help maintain jawbone health, while bridges do not provide this benefit.
Pros and Cons of Each Option
- Dental Implants:
- Dentures:
- Bridges:
It's important to choose the right option for tooth replacement. Dental implant rolling hills offer a strong and lasting solution, but it’s essential to consider personal needs and preferences.
Conclusion
In summary, dental implant surgery can take a few hours, but the total time varies based on different factors. Each person's situation is unique, and the dentist will consider how many implants are needed and the person's overall health. For patients in areas like
rolling hills dental, it might take a few months for the implants to heal and bond with the jawbone fully. It's important to follow your dentist's advice for the best results. Overall, while the surgery is quick, the process requires patience and care.


Hours & Address
MONDAY: CLOSED
TUESDAY: 8 AM - 5 PM
WEDNESDAY: 8 AM - 5 PM
THURSDAY: 8 AM - 5 PM
FRIDAY: 8 AM - 3 PM