

Custom-Fit Dental Crowns in Rolling Hills to Make Your Smile Merry and Bright
Understanding Custom-Fit Dental Crowns
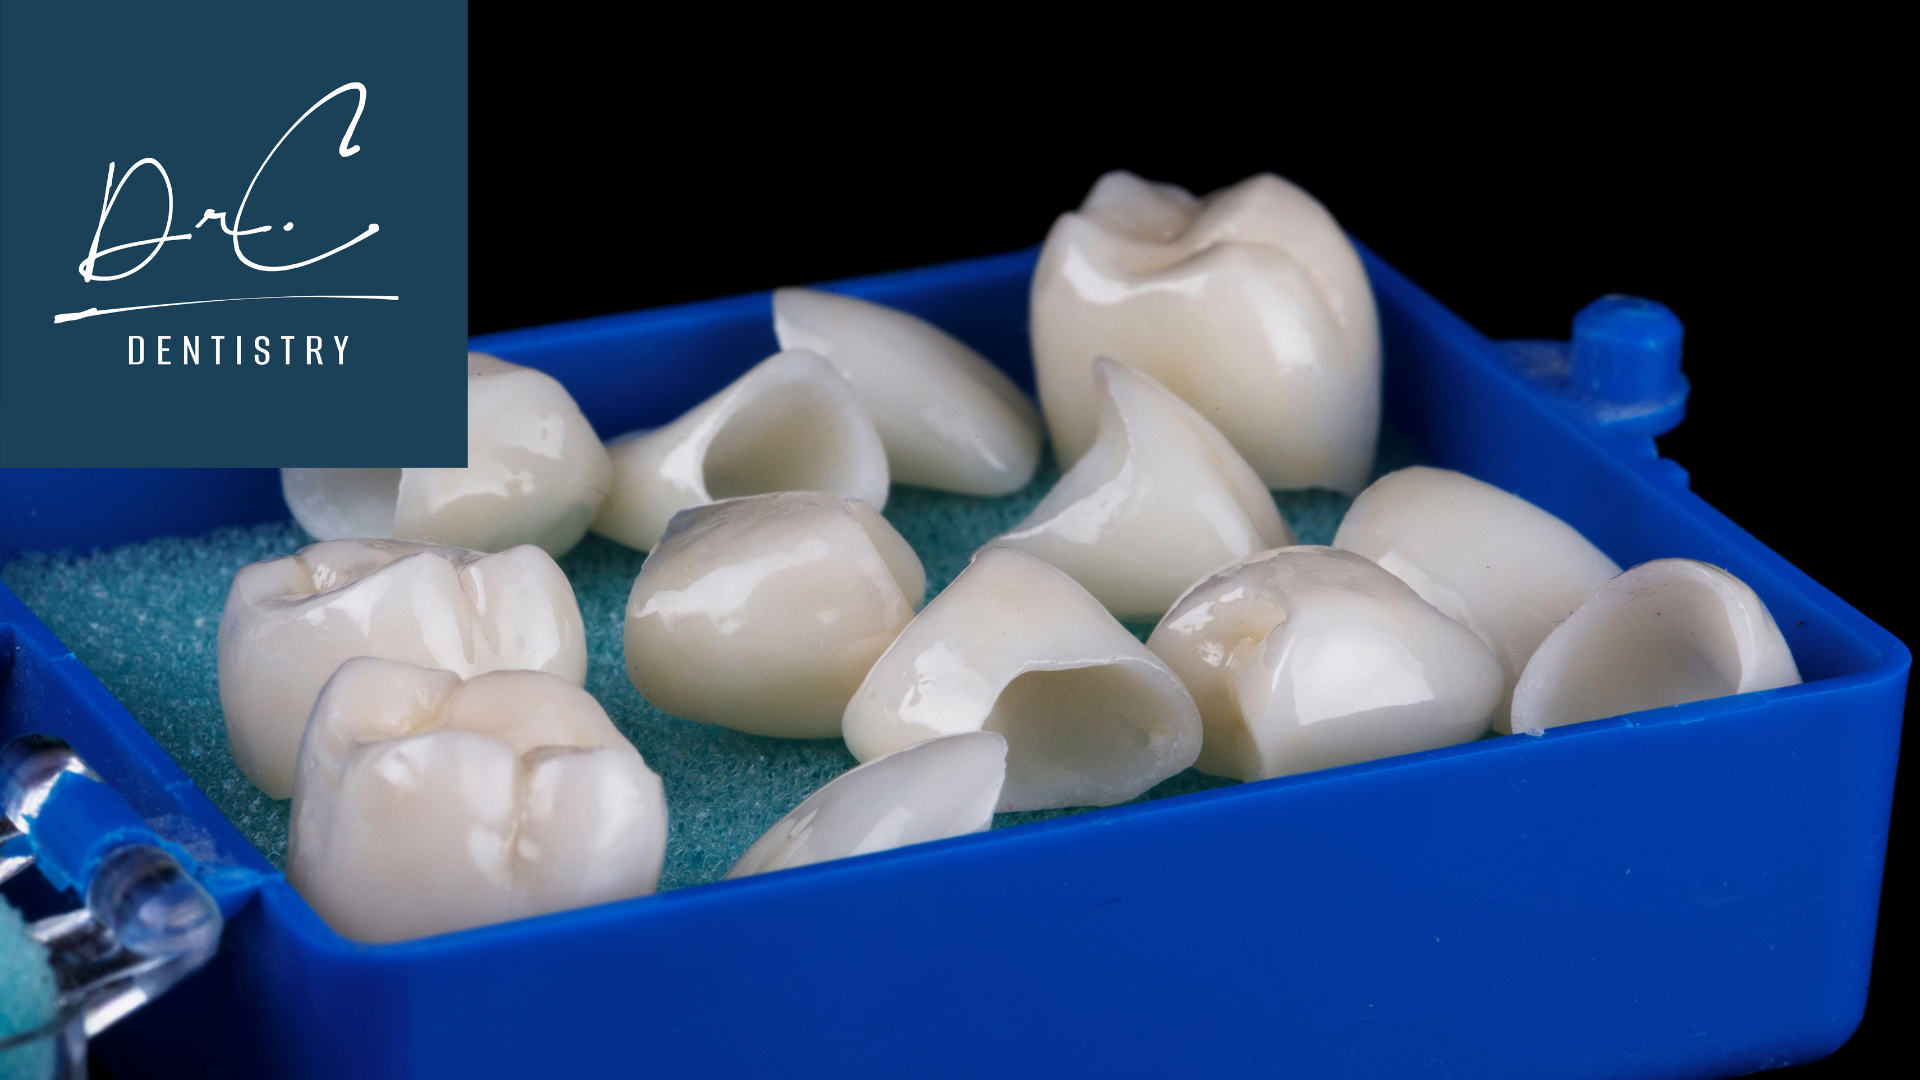
What Are Custom-Fit Dental Crowns?
Custom-fit dental crowns are specially made caps that cover damaged or decayed teeth. They are designed to look and feel like your natural teeth. These crowns help restore the shape, size, and strength of your teeth.
Benefits of Custom-Fit Crowns
- Improved Appearance: They blend in with your natural teeth, enhancing your smile.
- Durability: Made from strong materials, they can last many years with proper care.
- Protection: Crowns shield weak teeth from further damage and decay.
Materials Used in Custom-Fit Crowns
Custom-fit crowns can be made from various materials, including:
- Porcelain: Offers a natural look and is great for front teeth.
- Metal: Very strong and ideal for back teeth.
- Resin: A less expensive option that can be used for temporary crowns.
At Dr. Chan Dentistry, we focus on providing crowns that fit perfectly and enhance overall dental health.
Are Dental Crowns Right for You?
Dental crowns can benefit individuals with:
- Severely decayed or damaged teeth.
- Cracked or broken teeth needing reinforcement.
- Teeth treated with a root canal that require additional protection.
Talk to your dentist about your specific dental needs to determine if crowns are the right solution for you.
The Process of Getting a Dental Crown in Rolling Hills
Initial Consultation and Assessment
When you decide to get a dental crown in Rolling Hills, the first step is to visit Dr. Chan Dentistry for an initial
consultation. During this visit, the dentist will:
- Examine your teeth and gums.
- Discuss your dental history and any concerns you may have.
- Take X-rays to assess the condition of your tooth.
This assessment helps the dentist determine if a crown is the right choice for you.
Designing Your Custom-Fit Crown
After the assessment, the next step is designing your custom-fit crown. This involves:
- Taking impressions of your teeth to ensure a perfect fit.
- Choosing the right material for your crown, which can be porcelain, metal, or a combination.
- Creating a temporary crown to protect your tooth while the permanent one is being made.
This process ensures that your crown will look natural and feel comfortable.
Fitting and Final Adjustments
Once your custom crown is ready, you will return to Dr. Chan Dentistry for the fitting. During this appointment:
- The dentist will place the crown on your tooth to check the fit and appearance.
- Any necessary adjustments will be made to ensure comfort and function.
- Finally, the crown will be securely bonded to your tooth.
Getting a dental crown is a straightforward process that can significantly improve your smile and dental health. With the proper care, your crown can last for many years.
What to Expect During Recovery
After your dental crown procedure, you may experience mild sensitivity or discomfort. Follow these tips to aid recovery:
- Avoid sticky or hard foods for the first few days.
- Use a soft-bristled toothbrush to maintain oral hygiene without irritating the area.
- Schedule follow-up visits with Dr. Chan Dentistry to ensure the crown is functioning correctly.
Why Choose Rolling Hills for Your Dental Crowns
Expertise of Local Dentists
- Highly trained professionals with years of experience.
- Continuous education to stay updated on the latest techniques.
- Personalized care tailored to your specific needs.
State-of-the-Art Dental Technology
- Advanced tools and equipment for precise measurements.
- Digital imaging for better planning and design.
- Quick turnaround times for creating your custom crowns.
Patient Testimonials and Success Stories
- Many satisfied patients share their positive experiences.
- Real-life success stories that highlight the quality of care.
- A strong community reputation built on trust and results.
Choosing the right place for your dental crowns can make a big difference in your smile and confidence. In Rolling Hills, you’ll find a welcoming environment and skilled professionals ready to help you achieve the best results.
Caring for Your Dental Crown
Daily Oral Hygiene Tips
To keep your dental crown in great shape, follow these simple daily habits:
- Brush your teeth at least twice a day with a soft-bristled toothbrush.
- Use non-abrasive toothpaste to avoid scratching the crown.
- Don’t forget to floss daily to remove food particles and plaque around the crown.
Foods to Avoid with Dental Crowns
Certain foods can damage your dental crown or make it uncomfortable. Try to limit:
- Hard candies and ice can crack the crown.
- Sticky foods like caramel can pull on the crown.
- Very hot or cold foods that might cause sensitivity.
When to Visit Your Dentist
Regular check-ups are important for maintaining your dental crown. You should see your dentist if:
- You feel pain or discomfort around the crown.
- The crown feels loose or shifts when you bite down.
- You notice any changes in color or wear on the crown.
Cost and Insurance Considerations for Dental Crowns
Understanding the Cost Breakdown
When it comes to dental crowns, knowing the costs involved is essential. The price can vary based on several factors:
- Type of material used for the crown (e.g., porcelain, metal, or resin).
- The complexity of the procedure, including any additional treatments needed.
- Location of the dental practice, as prices can differ from one area to another.
Insurance Coverage for Dental Crowns
Many dental insurance plans offer some coverage for crowns but check your specific policy. Here are some key points:
- Most plans cover a percentage of the cost, often around 50%.
- Coverage may depend on whether the crown is deemed medically necessary.
- Always confirm with your insurance provider before starting treatment to avoid surprises.
Financing Options Available
If the cost of a dental crown is a concern, there are several financing options to consider:
- Payment plans offered by Dr. Chan Dentistry allow you to spread the cost over time.
- Health savings accounts (HSAs) or flexible spending accounts (FSAs) can help cover expenses.
- Third-party financing companies that specialize in dental care provide loans with manageable payments.
Understanding the costs and insurance options for dental crowns can help you make informed decisions about your dental care. Dr. Chan Dentistry is here to assist you in navigating these considerations and ensure you receive the best treatment for your smile.
Enhancing Your Smile with Dental Crowns
Achieving a Natural Look
Custom-fit dental crowns can be designed to match the color and shape of your natural teeth. When you smile, your crowns blend seamlessly, giving you a beautiful and natural appearance. Dr. Chan Dentistry focuses on creating crowns that look like your real teeth so you can feel confident in your smile.
Combining Crowns with Other Cosmetic Procedures
Dental crowns can be part of a larger plan to improve your smile. Here are some ways they can work with other treatments:
- Teeth whitening: Brighten your smile before getting crowns.
- Veneers: Use crowns alongside veneers for a complete makeover.
- Braces or aligners: Straighten your teeth and add crowns for a perfect finish.
Long-Term Benefits of Dental Crowns
Investing in dental crowns can lead to several long-term advantages:
- Durability: Crowns are strong and can last many years with proper care.
- Protection: They shield damaged teeth from further harm.
- Improved Function: Crowns help restore your ability to chew and speak comfortably.
Dental crowns enhance your smile and play a vital role in restorative dentistry, ensuring your teeth remain healthy and functional.
Final Thoughts on Custom-Fit Dental Crowns
In conclusion, custom-fit dental crowns in Rolling Hills can transform your smile. They not only help fix damaged teeth but also boost your confidence. With the proper care, these crowns can last for many years, making them a smart choice for anyone looking to improve their dental health. If you're considering getting a crown, talk to your dentist about the best options for you. A bright and happy smile is just a visit away!
Disclaimer: This article is for informational purposes only and does not constitute medical advice. Please consult a licensed dentist for personalized recommendations and treatment options.


Hours & Address
MONDAY: CLOSED
TUESDAY: 8 AM - 5 PM
WEDNESDAY: 8 AM - 5 PM
THURSDAY: 8 AM - 5 PM
FRIDAY: 8 AM - 3 PM